Setup
Activate or Deactivate ModulesAppearanceSMS SetupAppearance of EmailsConfiguring OptionsConfigure Tool TipsRisk RecommendationsHow to Activate or Deactivate a Module
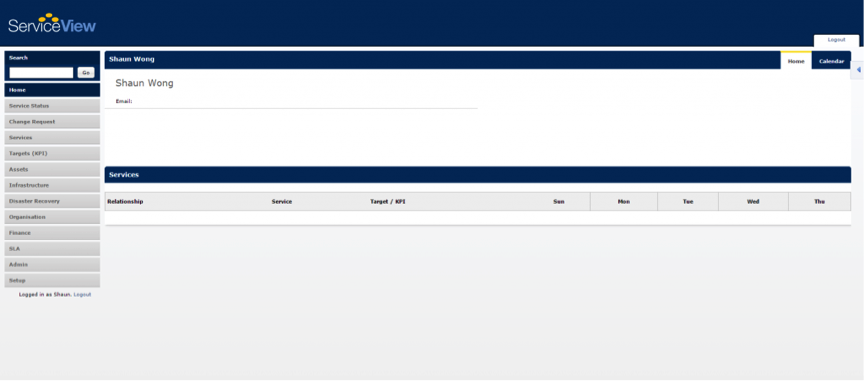
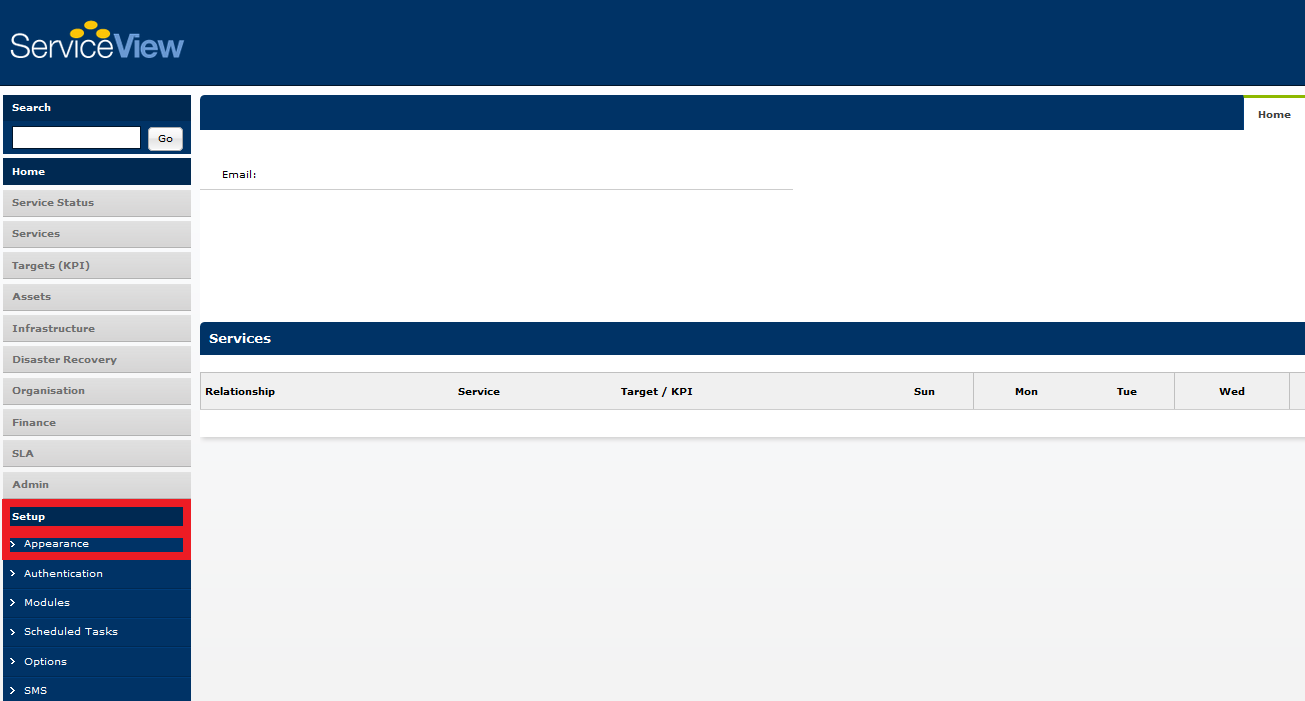
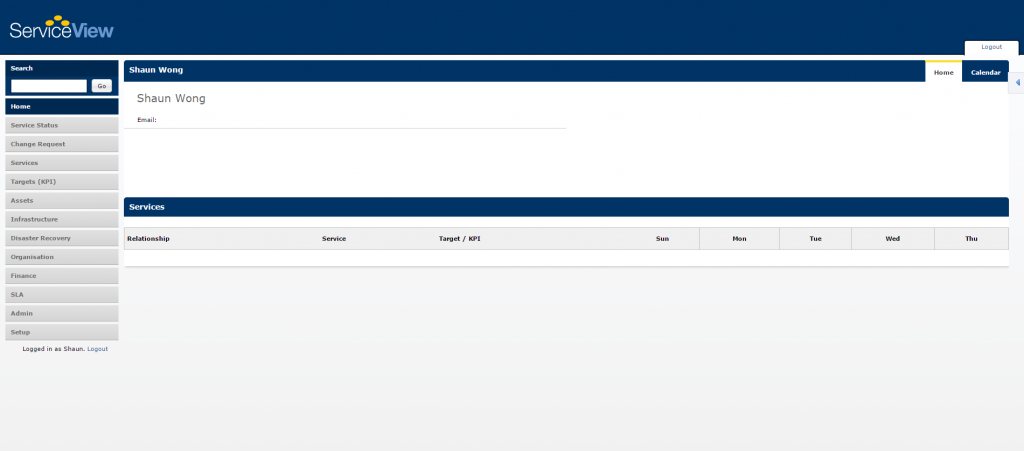
ServiceView hosts a range of different modules, which can be activated or deactivated in isolation. This provides the user with the flexibility of switching a module off without affecting the operation of other modules. This guide begins from the ServiceView homepage. After successfully logging in, you should see the following screen:
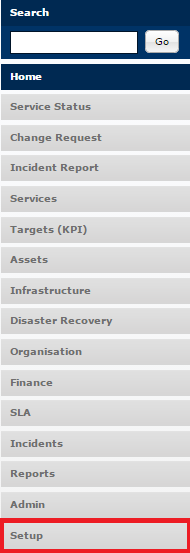
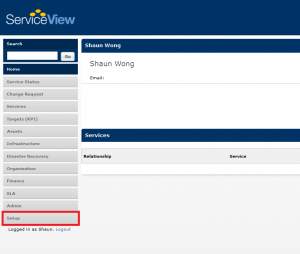
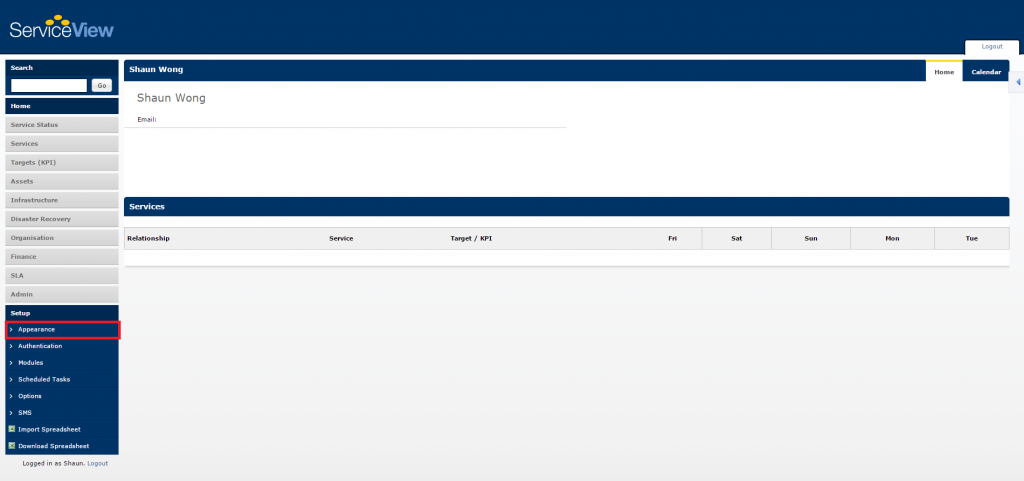
Next, click on the Setup tab located in the side menu as shown in the image below:
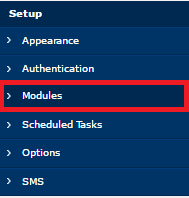
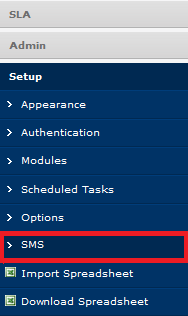
A drop down menu should then appear, Click on the Modules tab (shown below) to continue:
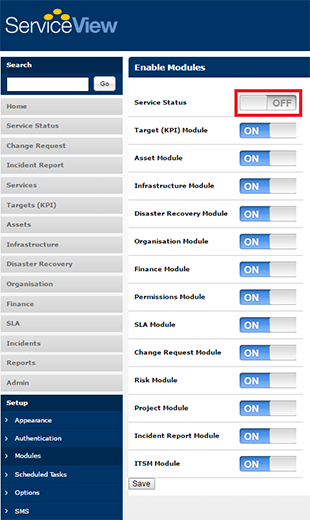
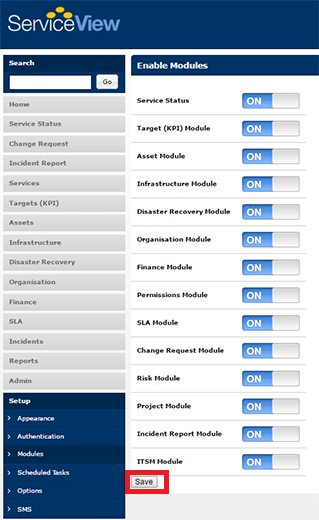
You will then be redirected to the Modules page:
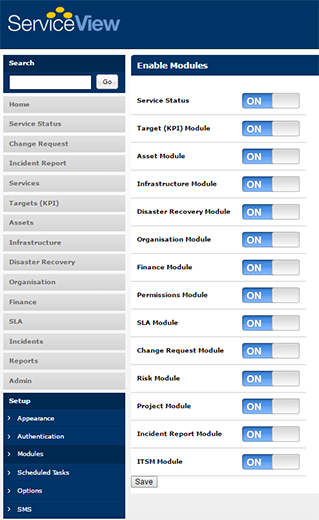
Here we can see that all modules are currently active. To deactivate a module, click on the toggle button (highlighted in the image below) and click Save.
To activate a deactivated module, follow the same procedures as before. If you would like to keep your changes, click on the Save button:
How to change the Appearance
From the left Menu bar select Setup and then choose Appearance from the options.
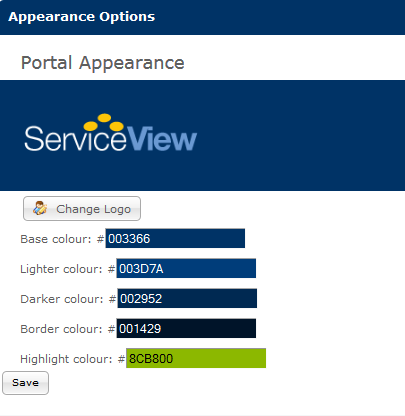
You can choose to upload your own University or business logo. You can also change all the colours as desired. Save once finished.
How to View or Edit SMS Setup
ServiceView is capable of being configured to sent SMS notifications to users. This guide will cover the basics of viewing and editing the SMS Setup page of ServiceView. This guide begins from the ServiceView homepage. After successfully logging in, the following screen will be displayed:
Next, click on the Setup tab located in the side menu as shown below:
A drop down menu will then appear. Click on the SMS tab located in that drop down menu:
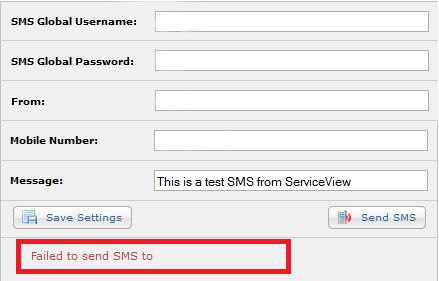
You should now be redirected to the SMS setup page as shown in the following image:
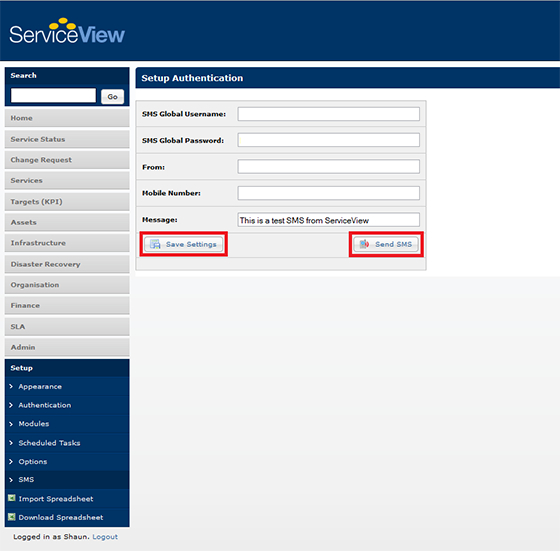
The following can be performed in this window:
- Specify the global username and password for the SMS service.
- To specify who is the SMS message from, fill out the From field.
- To specify the recipient of the SMS message, fill out the Mobile Number field.
- If you would like to send out the SMS message now, click the Send SMS button.
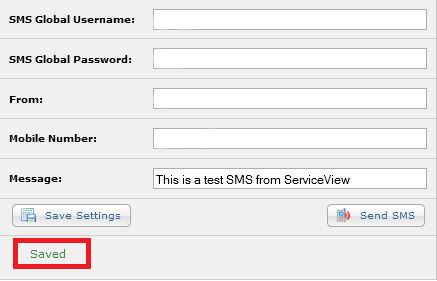
To save your settings, click on the Save Settings button.
Similar to the above, you would see a confirmation if the settings has been saved successfully.
How to Change the Appearance of Emails
It is possible to customise the appearance of emails sent from ServiceView. This guide will provide the steps to doing just that.
This guide will begin from the homepage of ServiceView. After successfully logging in, the following screen will be displayed:

Next, click on the Setup tab located in the side menu to the left of the screen.
A drop down menu will then be displayed, click on the Appearance tab located in that menu:
You will then be redirected to the Appearance page as shown below:
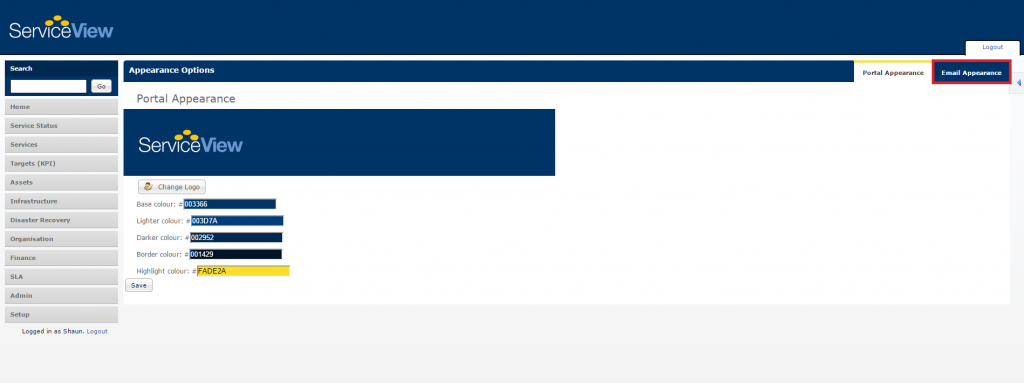
Click on the Email Appearance tab as highlighted in the image above.
You will then see the following page:
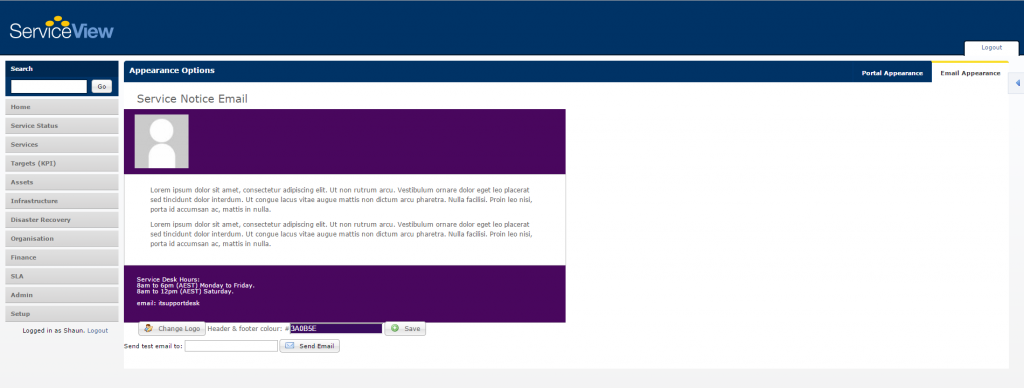
There are three functionalities here:
- Customize Logo - Done by clicking on the Change Logo button.
- Customize Header and Footer Colour - Changed by clicking on the colour selection tool to choose a colour. Click Save to apply the new colour.
- Send a Test Email - Use this to send a sample email to have a better idea on how an actual email will look like.
How to Configure Options
It may be necessary to change certain default options within ServiceView such as the current time zone. This guide will provide information to what each option does and what input parameters can be specified.
1. Changing ServiceView Options
 Note: You should be at the Options page already. To open the Options page, select Options from the Setup side menu
The following page should be displayed:
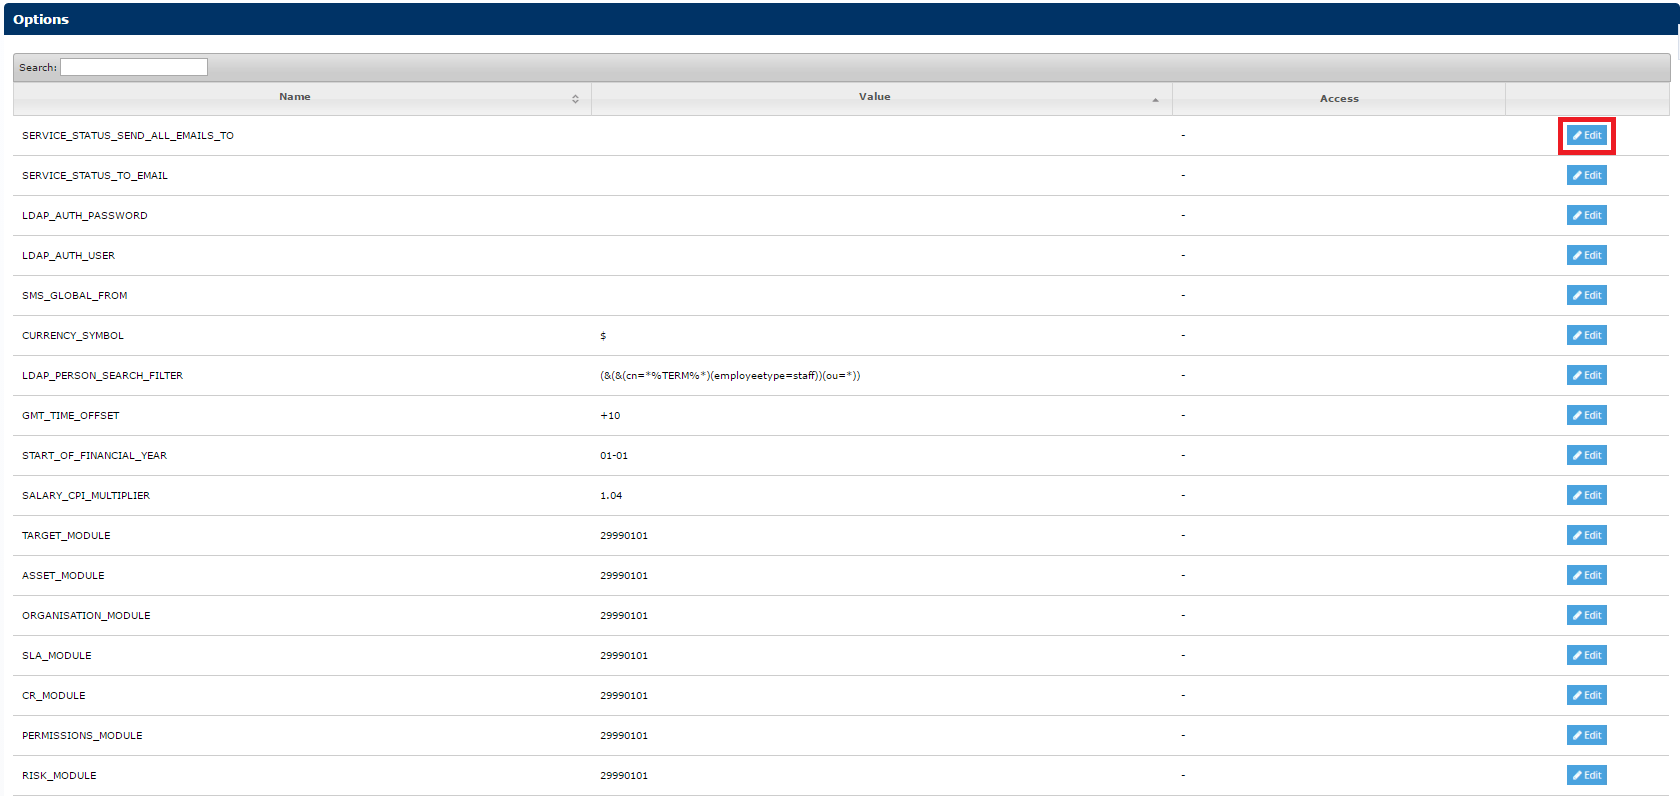
To edit any of the options, click on its edit button (highlighted in the image above).
A pop-up window will then appear such as the one in the image below:
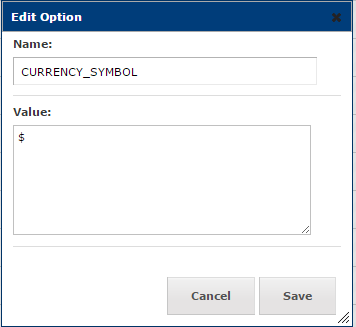
In this window, you will be able to specify the value for each option. Click Save to keep any changes made or Cancel to discard all changes.
2. ServiceView General Options
A list of options and their corresponding input values are included below:
| Option | Description |
| SMS_GLOBAL_FROM | This sets the name of the sender for all SMS sent by ServiceView |
| GMT_TIME_OFFSET | This determines the time ServiceView uses, in terms of offset from the Greenwich Mean Time(GMT). The unit it in hours |
| SECRET | This option sets the secret code used for ServiceView API calls |
| CRONSECRET | This option sets the Secret code for Cron, a job scheduler for unix based operating systems |
| HIDE_RESTRICTED_SERVICES | Determines if restricted services are hidden in the dependency diagram of other services |
| TIMEZONE_CITY | Sets the time zone and city to allow ServiceView to make daylight savings time adjustments. |
| FRONTPAGE | Determines if services should be shown on the front page of ServiceView under the Services tab. |
| ALLOW _SELF_REGISTER | This option determines if it is possible for a person registered in ServiceView database to link themselves to the respective user accounts to log into ServiceView. |
| SMTP_SERVER | Specifies the Simple Mail Transfer Protocol (SMTP) server that ServiceView uses. |
| TABLE_DISPLAY_LENGTH | Sets the maximum number of columns to display per page. Affects tables. |
How to Add a Change Request Form Tool Tip
To add tool tip pop ups to the change request form, in the main menu choose setup, then options.
In the search box, search for TOOL_TIP_CHANGE. This will bring up all the tools tips that are for the change request form
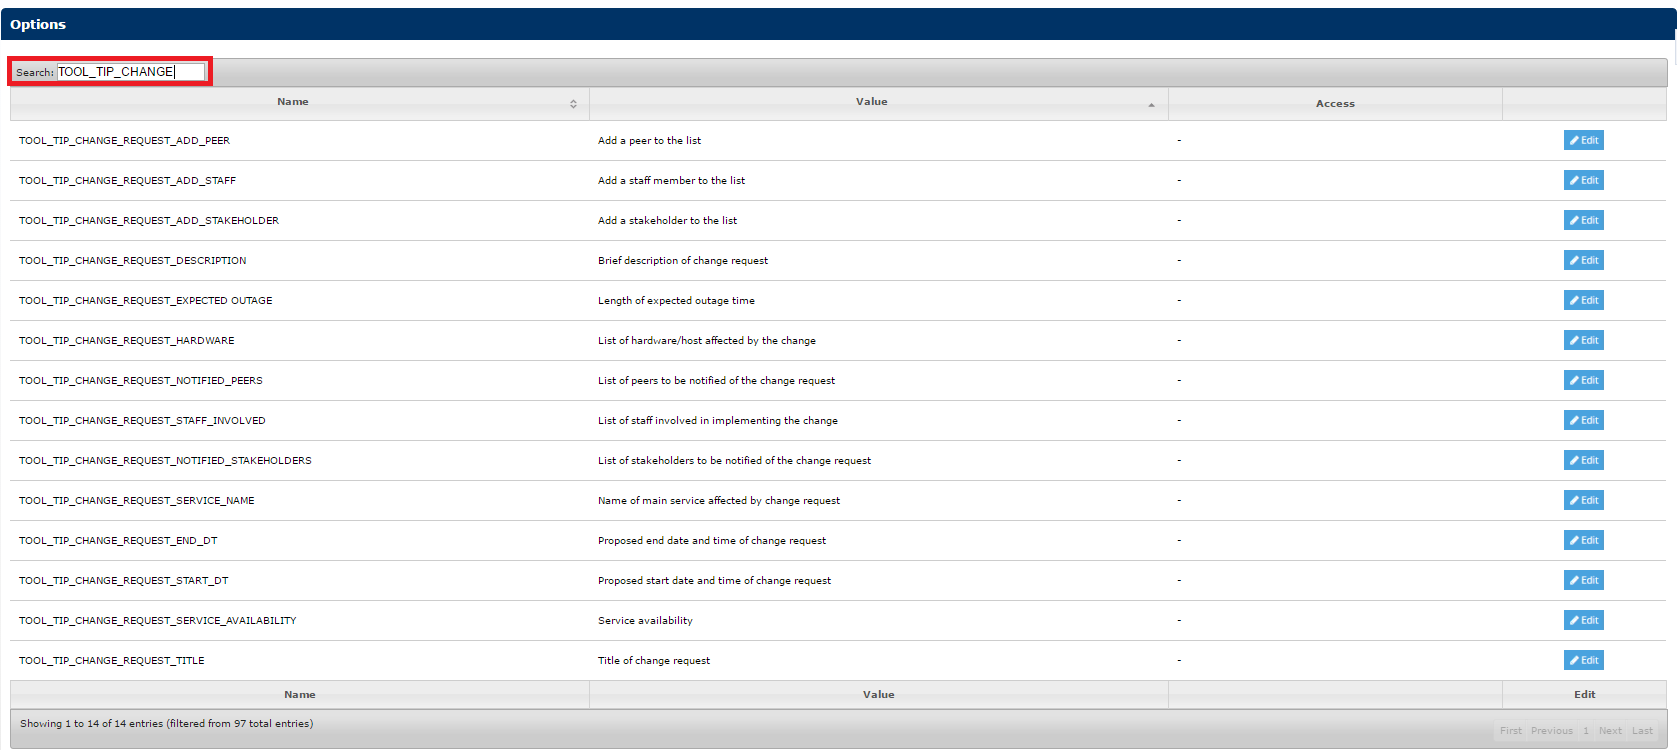
Click the Edit icon and change the value to what you would like the tool tip popup to say.
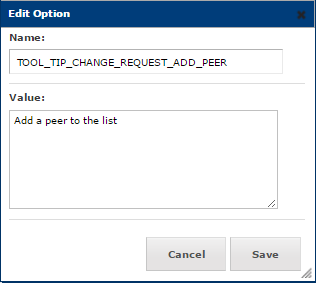
Click Save and the new tool tip will appear when you hover over the chosen field.
How to Change the Recommendation for the Risk Assessment
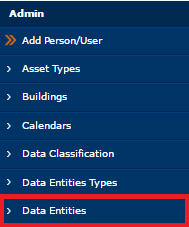
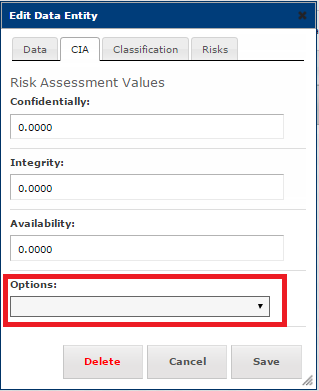
To change the risk assessment recommendation, go into the Admin menu. Then click on Data Entities, this will take you to an edit dialog screen.
Click on the CIA tab and go down to the options dropdown. There will be two options to choose from, Do Not Offer Alternatives and Do Not Offer As Recommendation.
 \
\
Press Save when finished.