Change Management
Creating a Change RequestEditing Change RequestsCommunicating RequestsDuplicating a Change RequestReports & ViewsService Status EventRemindersAdding or Editing Change Requests
Adding Change Requests
To add a new change request, click the Change Request side menu and select My Change Requests. Click the  to open the Add Change Request dialog. To complete the change request you will need to fill in the fields on each tab.
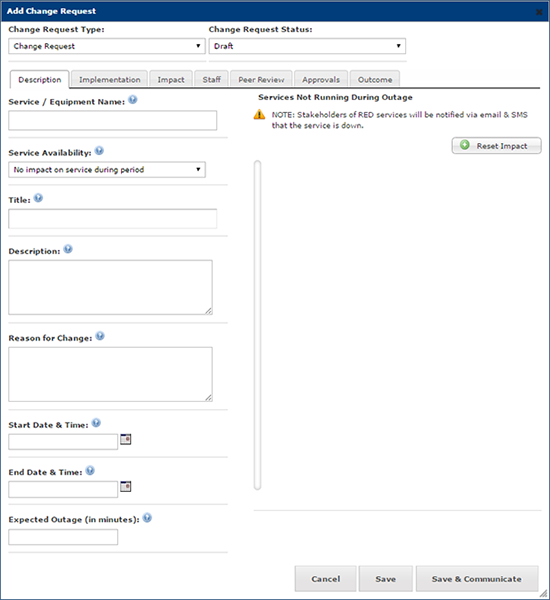
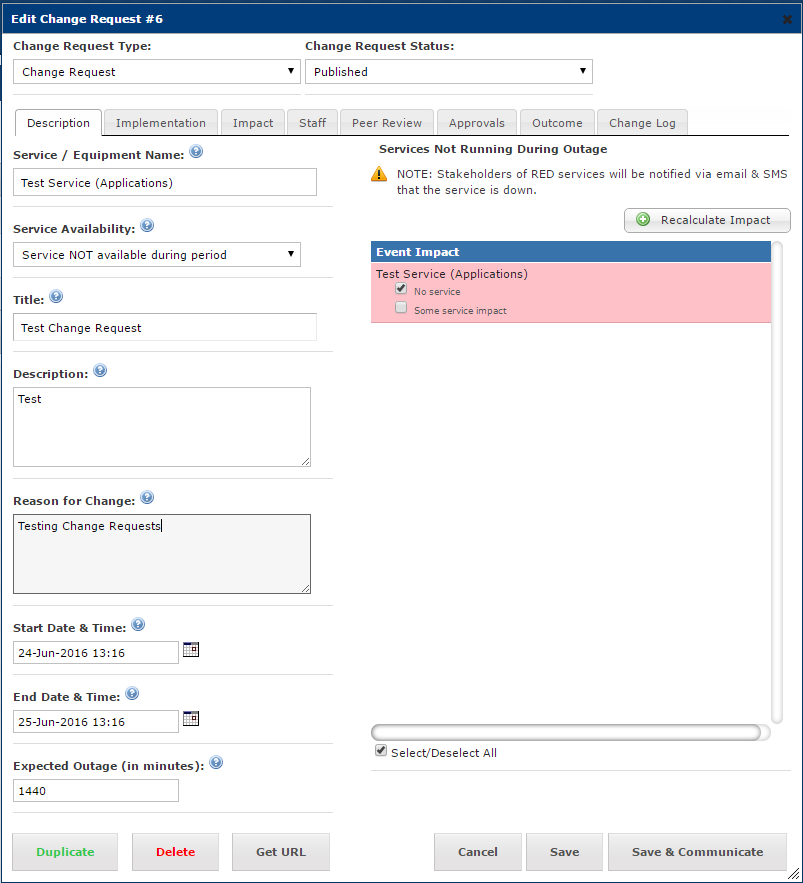
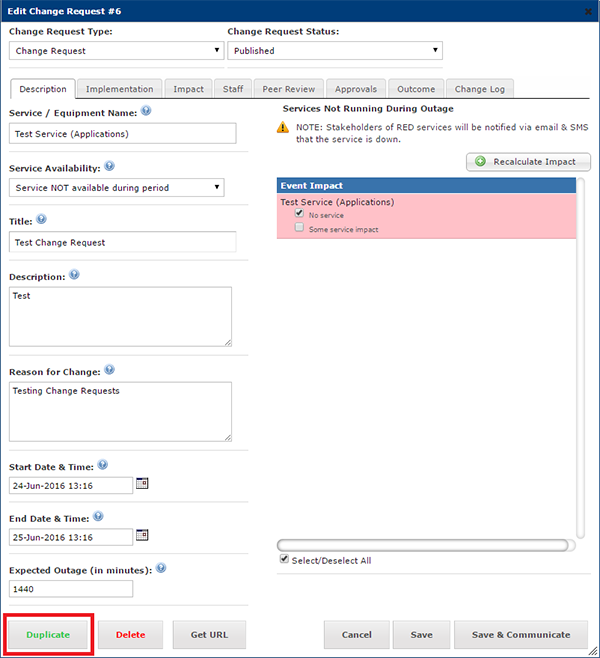
The Description tab is where you list the service or equipment name for the change request, if the services availability will be impacted, dates and description and reason for the change. Once the service/equipment name have been completed ServiceView will display the impact the suggested change will have on other services that may have dependencies on the right side of the dialog.
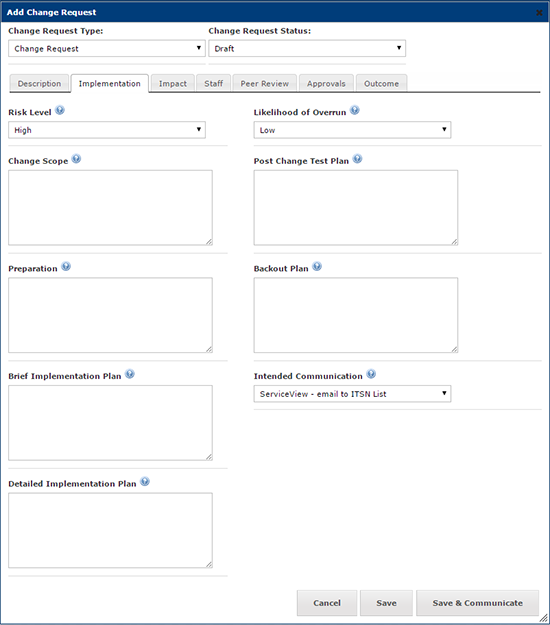
The Implementation tab is used to record details on the scope, preparation, the implementation plan and post change and backout plans.
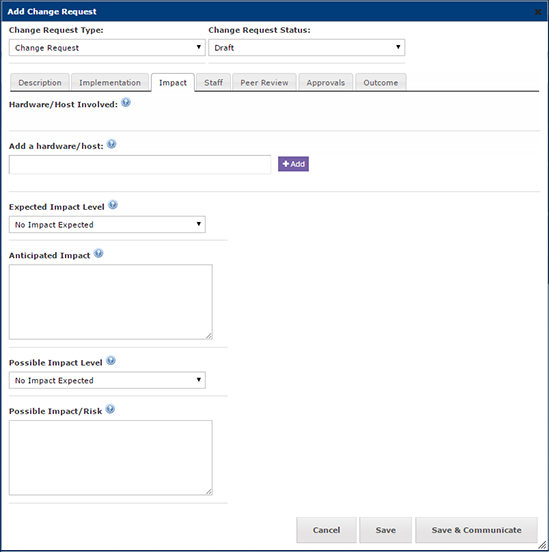
The Impact tab is used to determine hardware or hosts that will be impacted by the change due to their dependencies on the service or equipment.
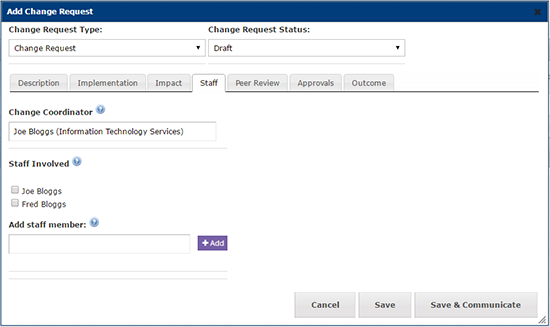
The Staff tab is used to list staff involved in completing the change, including the change coordinator.
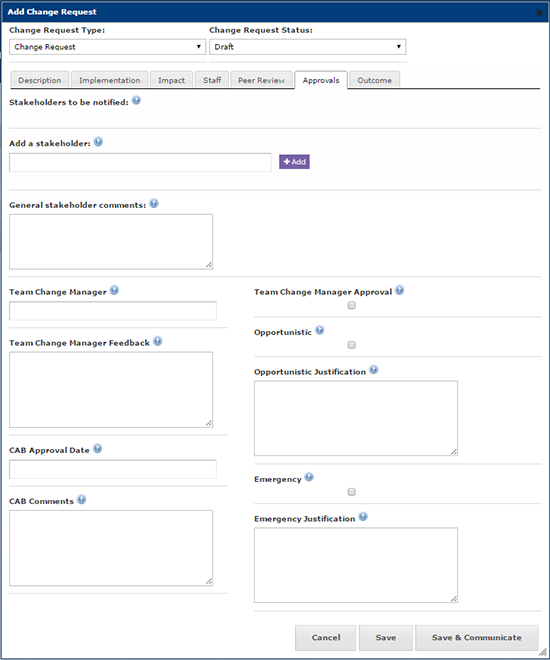
The Peer Review and Approvals tabs are where stakeholders and nominated staff can review the suggested change, give their approval and provide any feedback . This is to ensure there is no conflicts with other changes or dependent systems that are required to be accessed during the change.
When complete press Save & Communicate.
Editing Change Requests
To edit an existing change request, click the Change Request side menu and select My Change Requests. Once you locate the change request from the list, click the Edit button.
The Edit Change Request dialog will open. Edit any fields you require and click Save & Communicate.
Communicating a Change Request
When you first add your change request it will be put into draft mode as default
To change this state into published, you must edit the change by clicking the edit button. At the top of the dialog box there will be a drop down Change Request Status menu. You can change this to Published, which will confirm that the change is ready for review by the change approval board, known as the CAB.

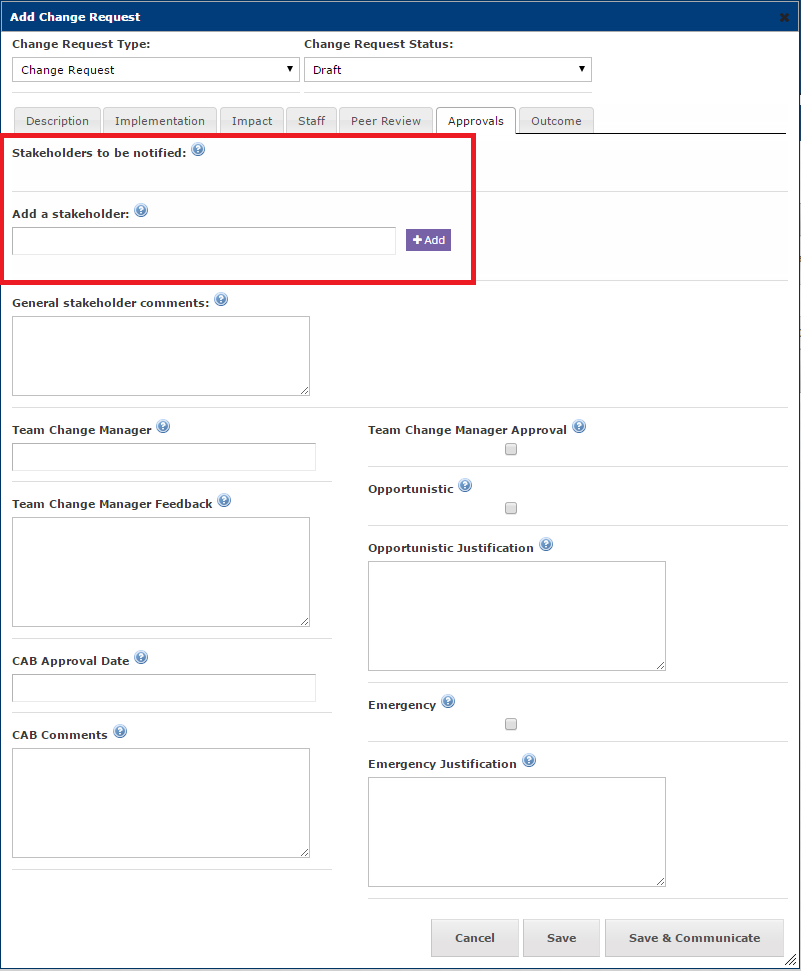
Before the CAB approves the change, the team change manager must approve the change and once that is completed the stakeholders must approve it as well. Under the Approvals tab you can select stakeholders that are assigned to the service and the service dependencies that you have selected.
 Note: By default the stakeholders won't be selected, you will need to check the box next to their name to add them to the change request approval email.
Then click the Save & Communicate button to send out an email to stakeholders and any other team members you have specified.
Once the stakeholders receive the email, they can click on the email link that will take them to a webpage that will allow them to approve or reject and comment on the change request without having to access ServiceView. The update will then relect in the change request and will highlight in red if the change was rejected.
The change is then ready for the CAB to review the change. Once they review they will either change the state of the Change Request into approved or rejected. Approved changes will appear as green and rejected as red.
Duplicating a Change Request
To duplicate a change request, edit the change request which you would like to duplicate. In the bottom left corner of the dialog there will be a Duplicate button. This will duplicate the change except for the approvals and the dates, as they should change with a new change request.
Change Request Reports & Views
The change request reports can be found in the main menu, under Change Request.
The reports are a way to view upcoming and past changes. The changes are put into groupings:
- Upcoming changes
- Approved changes from previous period (did not go according to plan)
- Unapproved changed from previous period
- Upcoming Minor Change Requests
- Minor Change Requests from previous period (did not go according to plan)
These views are used at the CAB meetings for viewing the changes up for review.
On the main menu there is also another view called My Change Requests. This is a personal dashboard showing the users upcoming changes, draft changes, upcoming changes to approve and upcoming changes they have approved or rejected.
This ensures that you have no draft changes that need to be reviewed by the CAB for that week or any changes you need to approve as a stakeholder or team change manager.
Service Status Event
The Service Status, Status page tab is in the side menu.
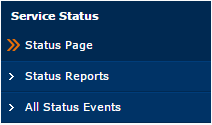
Here you can view all of the upcoming/past service events.
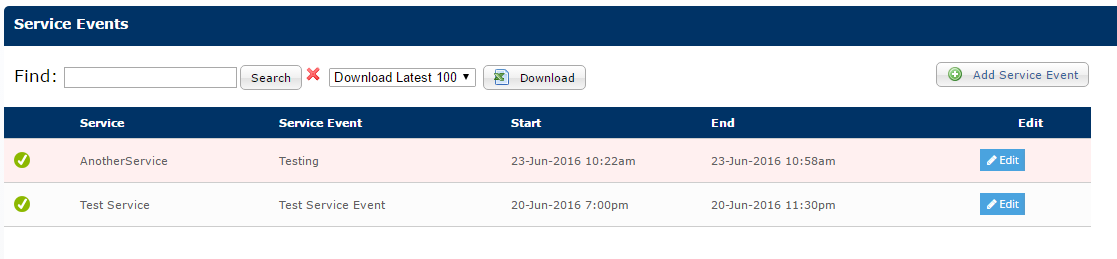
The green check indicates that the event has already passed.
You can edit a Service Status Event by clicking the Edit button. Here you can list the outcome of the event and if it was an unplanned event.

Creating a New Service Status Event
Once the CAB has approved a Change Request it can then be added as a Service Status Event.
To do this go into the Service Page in the Service Status tab on the left side menu. Here there will be a  buton. This would be done when there was not a Change Request for the event, such as an unplanned event.
Reminders
Reminders are used to send messages to a person or user that something is still required to be completed at preset intervals. To add Reminders, first select Admin from the side menu then open the Reminders menu. From here select Reminder Types and use the  button to open the Add Reminder Type dialog.
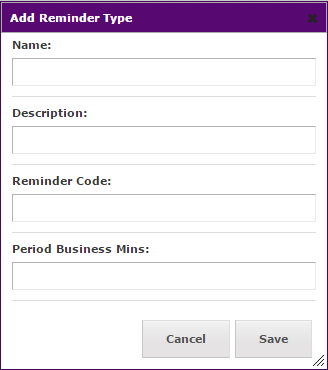
Fill in all fields and press Save. Repeat for each type of reminder you would like to add.
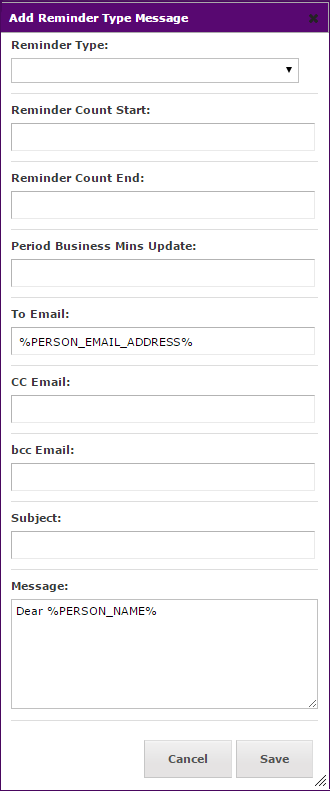
Now select Reminder Type Message from the Reminders menu in the Admin side menu. To add a Reminder Type Message click the to open the Add Reminder Type Message dialog. Fill in the fields you require and press Save.
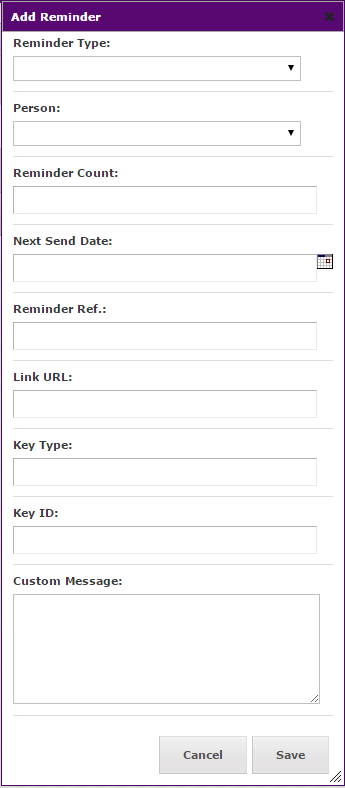
To send a reminder, select Reminders in the Reminders menu in the Admin side menu and clicking the to open the Add Reminder dialog.